Description
Note: The PinePhone Pro mainboard replacement process same as PinePhone mainboard.
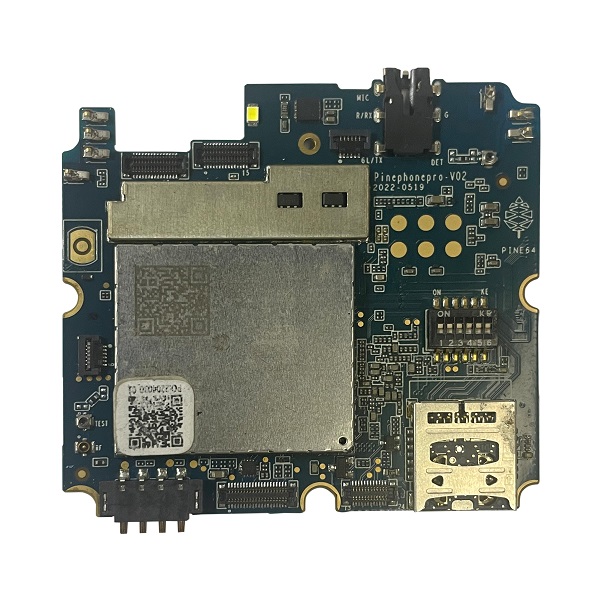
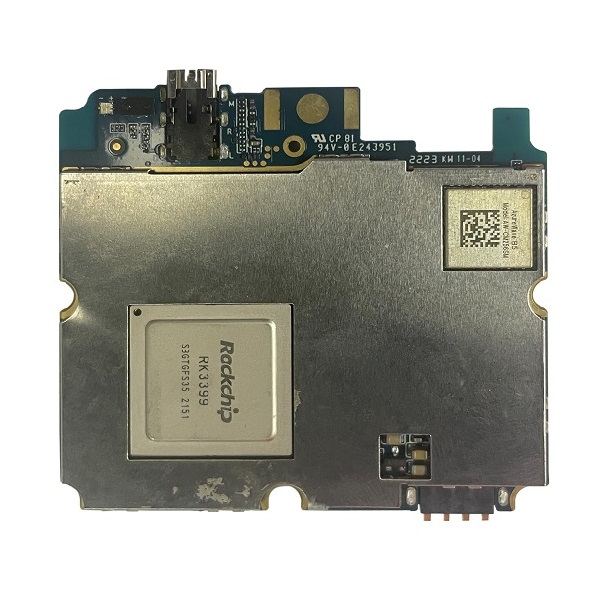
PinePhone Pro mainboard replacement instructions and video
Prior to replacing your PinePhone Pro’s mainboard please read the steps outlined in bullet points below and watch the attached video.
- You’ll need a small Phillip’s screwdriver and a prying tool to swap out the PinePhone Pro’s mainboard.
- Remove the PinePhone Pro’s back cover. See your quick start guide for details.
- Remove the battery as well as any inserted SD and SIM cards.
- Unscrew all 15 Phillip’s head screws around the midframe of the phone.
- Gently pry up the midframe using a guitar pick or credit card corner. It is easiest to separate the midframe at one of the bottom edges. Work your way around all the sides of the phone until the midframe separates from the phone’s body.
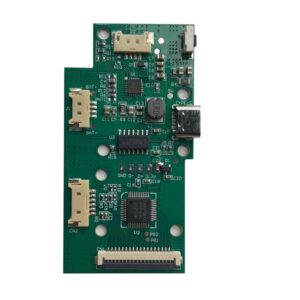
- Detach all ribbon cables and “Lego” connectors. List of things to detach: 1) two “Lego” connects at the bottom of the mainboard. 2) u.FL antenna connect and touchscreen digitizer on PCD left side. 3) LCD ribbon cable top of mainboard, next to audio/ UART jack.
- Pry the mainboard up gently from the left-hand side.
- Remove front and main cameras and reset them into the new mainboard.
- Place the new mainboard in the chassis, hooking in on the plastic tabs on left side and pressing down firmly on opposite side, and follow the steps (7-2) in reverse.